Hyundai Accent (HC): Body (Interior and Exterior) / Rear Window Glass
Contents:
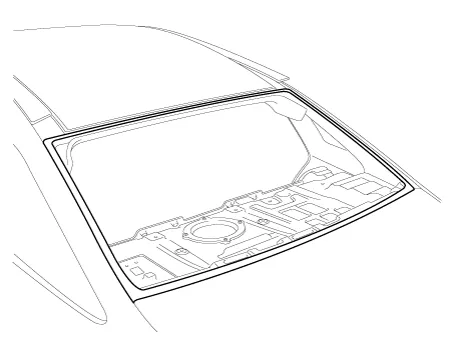
Components and Components Location
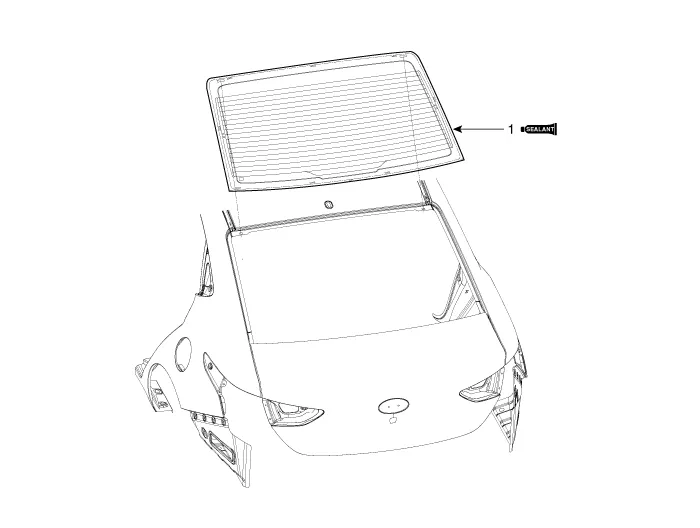
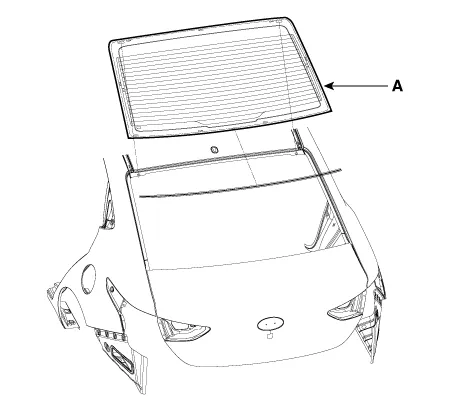
1. Rear window glass
Repair procedures

• Put on gloves to protect your hands.

• Use seat covers to avoid damaging any surfaces.
1.Remove the roof garnish.(Refer to Body Side Molding - "Roof Garnish")
2.Remove the rear pillar trim. (Refer to Interior Trim - "Rear Pillar Trim")
3.Spread the WD - 40 on the side of rear window glass.
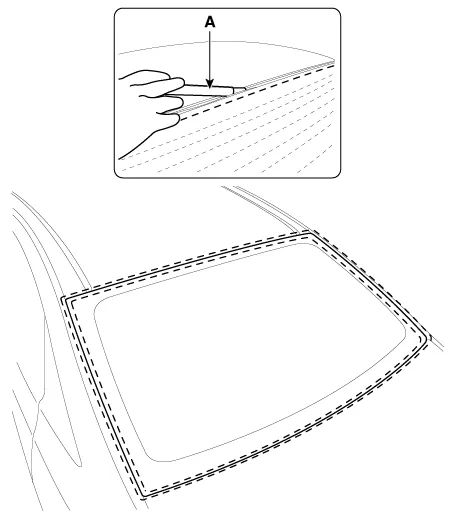
4.Cut out the adhesive using the cutter (A).

• Please use the cutter with a blade length between 8 - 12 inches.
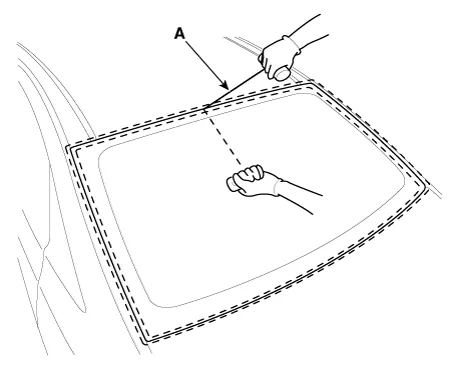
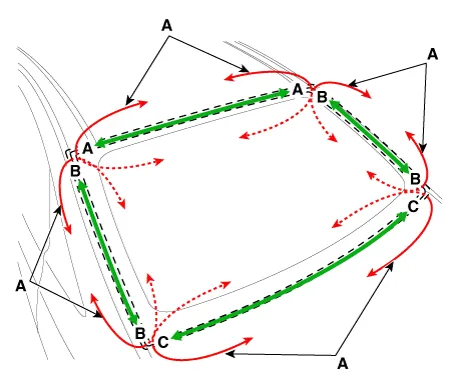
5.Cut off the sealant on the edge (B) while pulling the piano wire (A) left and right.

• Put on gloves to protect your hands.
• Heat may occur when working on the wires. Be careful not to burn your hands.
• Be careful not to disconnect the piano wire.
6.If a piano wire is visible inside the chassis, pull the piano wire (A) line inside.
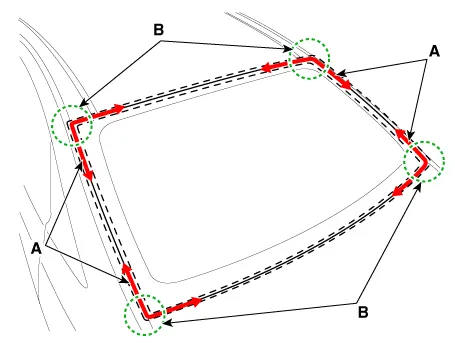
7.Cut off the sealant on (A - A), (B - B), (C - C), while pulling a piano wire (A) left and right.

• Put on gloves to protect your hands.
• Heat may occur when working on the wires. Be careful not to burn your hands.
• Be careful not to disconnect the piano wire.
8.Remove the rear window glass (A).

• When removing and installing the rear window glass, an assistant is necessary.
1.Remove the sealant (B) with a cutting knife (A) on the body panel.

• Put on gloves to protect your hands.
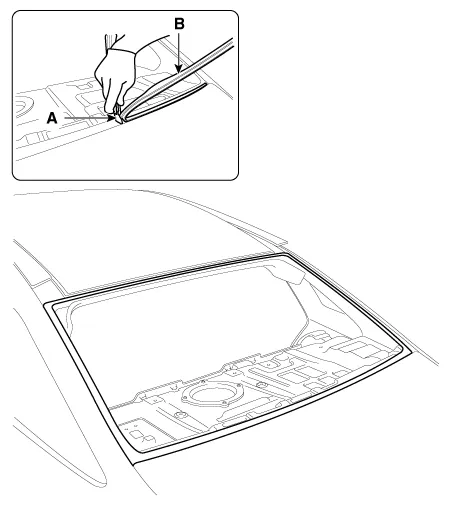
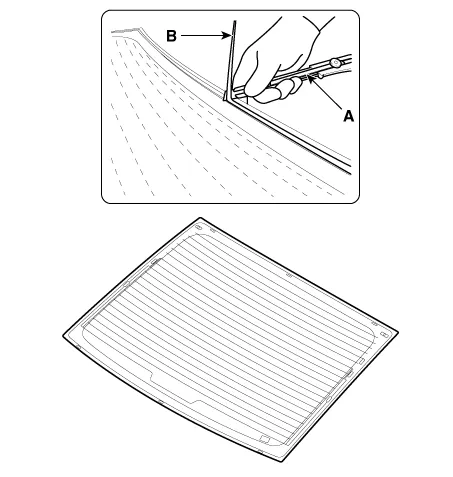
2.Remove the sealant (B) with a cutting knife (A) on the rear window glass.

• Put on gloves to protect your hands.
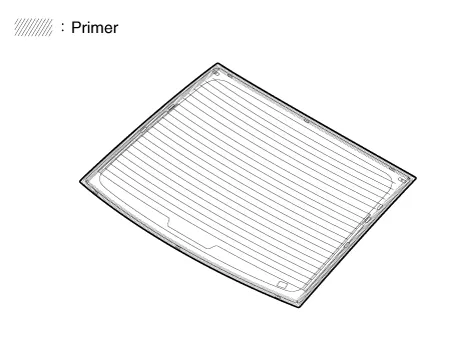
3.With a sponge, apply a light coat of body primer to the original adhesive remaining around the rear window glass opening flange. Let the body primer dry for at least 10 minutes.

• Do not apply glass primer to the body, and be careful not to mix up glass and body primer sponges.
• Never touch the primed surfaces with your hands.
• Mask off the dashboard before painting the flange.
4.Apply a light coat of glass primer to the outside of the fasteners.

• Never touch the primed surface with your hand. If you do, the adhesive may not bond to the glass properly, causing a leak after the rear window glass is installed.
• Do not apply body primer to the glass.
• Keep water, dust, and abrasive materials away from the primer.
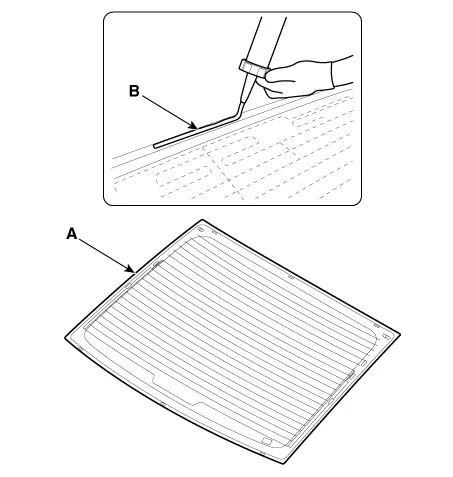
5.Peel off the tape from the rear window glass molding (A) and install the molding on the rear window glass.
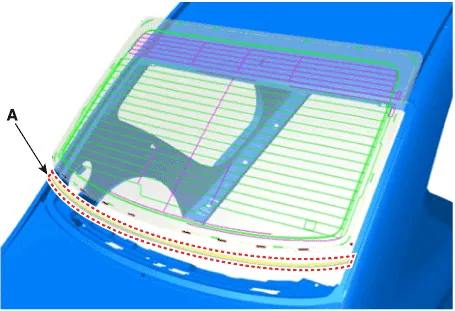
6.Pack adhesive into the cartridge without air pockets to ensure continuous delivery. Put the cartridge in a caulking gun, and run a bead of adhesive (B) around the edge of the rear window glass (A) between the fastener and molding as shown. Apply the adhesive within 30 minutes after applying the glass primer. Make a slightly thicker bead at each corner.
Sealant Bead widthHeight : 12 mm (0.4724 in.)Width : 8 mm (0.3150 in.)
7.Use suction cups (A) to hold the rear window glass (B) over the opening, align it with the alignment marks (C) made in step 15, and set it down on the adhesive. Lightly push on the windshield until its edges are fully seated on the adhesive all the way around. Do not open or close the doors until the adhesive is dry.

• When installing the rear window glass (B), set the rear glass service hole (D) to the frame exactly.

8.Let the adhesive dry for at least 3 - 4 hour, then spray water over the glass and check for leaks.

• Do not spray to adhesive area directly. Spray water over the glass and then spill water around the glass.
9.Areas may leak. Let the glass dry, then seal with adhesive.

• Let the vehicle stand for at least four hours after glass installation. If the vehicle has to be used within the first eight, it must be driven slowly.
• Keep the glass dry for the first hour after installation.
• Please have the driver use caution and not drive vehicle along an uneven dirt road or drive violently.
10.Install the rear pillar trim. (Refer to Interior Trim - "Rear Pillar Trim")
11.Install the roof garnish.(Refer to Body Side Molding - "Roof Garnish")


Other information:
Hyundai Accent (HC) (2017 - 2022) Service Manual: Description and Operation
- Description of ESP Optimum driving safety now has a name : ESP, the Electronic Stability Program.ESP recognizes critical driving conditions, such as panic reactions in dangerous situations, and stabilizes the vehicle by wheel-individual braking and engine control intervention with no needfor actuating the brake or the gas pedal.ESP adds a further function known as Active Yaw Control (AYC) to the ABS, TCS, EBD and ESP functions.Hyundai Accent (HC) (2017 - 2022) Service Manual: Troubleshooting
Standard Flow of Diagnostic Troubleshooting Notes With Regard To Diagnosis The phenomena listed in the following table are not abnormal.ConditionExplanation System check soundWhen starting the engine, a thudding sound can sometimes be heard coming from inside the engine compartment. This is because the system operation check is being performed.
Contents
Categories
- Manuals Home
- Hyundai Accent Owners Manual
- Hyundai Accent Service Manual
- Questions & Answers
- Video Guides
- Useful Resources
- New on site
- Most important about car
- Privacy Policy

0.01