Hyundai Accent (HC): Windshield Wiper/Washer / Front Wiper Motor
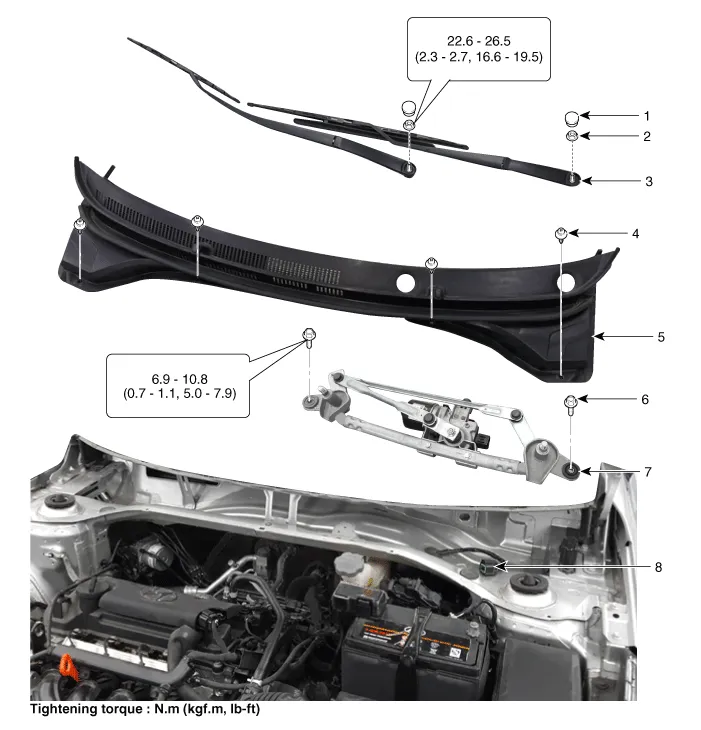
1. Cap
2. Nut
3. Wiper arm & blade
4. Rivet
5. Cowl top cover
6. Bolt
7. Wiper motor & linkage assembly
8. Wiper motor connector
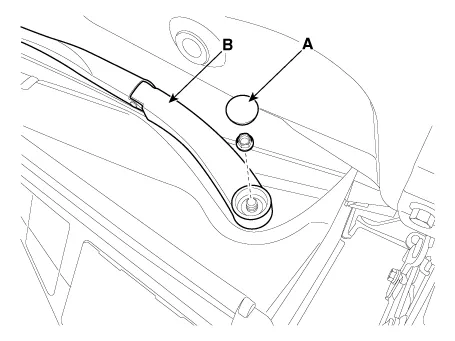
1.Loosen the windshield wiper arm nut after removing a wiper cap (A).
2.Remove the windshield wiper arm and blade (B)
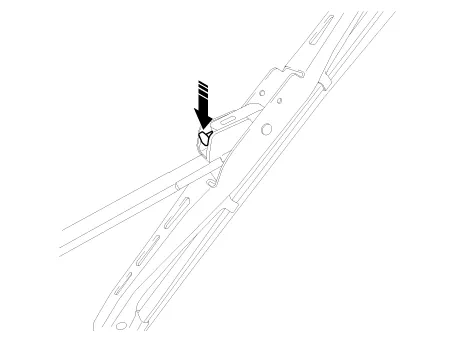
3.If necessary, release the wiper blade fixing clip by pulling up and remove the wiper blade from the inside radius of wiper arm.
4.Remove the cowl top cover.(Refer to Body - "Cowl Top Cover")
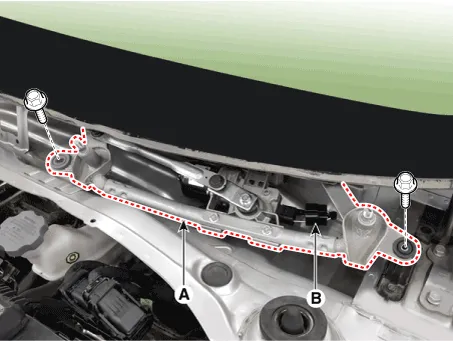
5.Remove the windshield wiper motor and linkage assembly (A) after loosening the bolts and disconnecting the wiper motor connector (B).
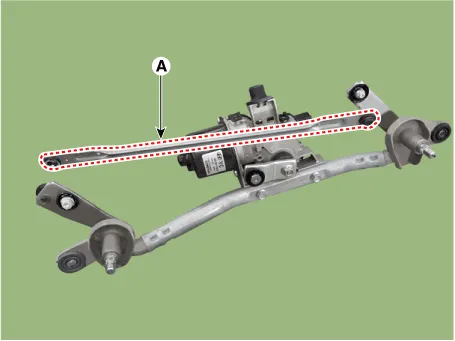
6.Hold the wiper motor crank arm and remove the upper linkage (A) from the wiper motor crank arm.
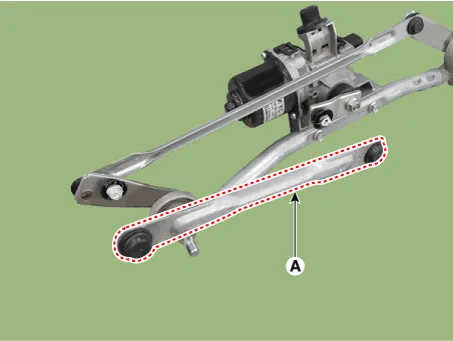

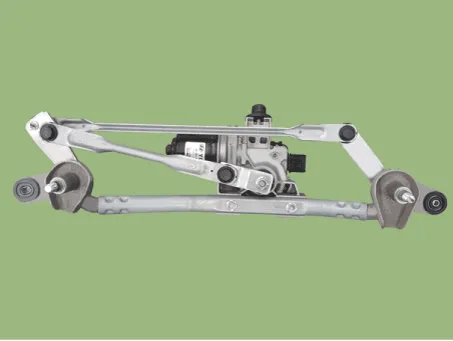
7.Remove the lower linkage (A) from the wiper motor crank arm.

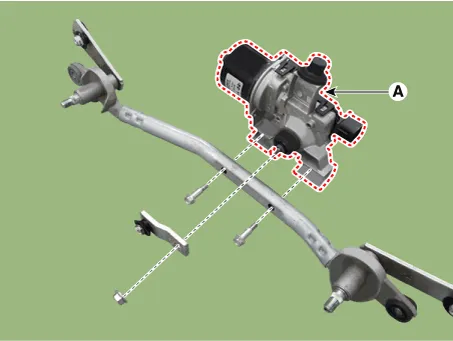
8.Remove the wiper motor (A) from the tube after removing the mounting bolts.
1.Install the wiper motor.
2.Install the crank arm.

3.Install the lower and upper linkage to the wiper motor crank arm.

4.Install the wiper motor and linkage assembly and then connect the wiper motor connector.
Tightening torque:6.9 - 10.8 Nm (0.7 - 1.1 kgf.m, 5.0 - 7.9 lbf.ft)
5.Install the cowl top cover.
6.Install the windshield wiper arm and blade.
Tightening torque:22.5 - 26.5 Nm (2.3 - 2.7 kgf.m, 16.6 - 19.5 lbf.ft)

– The windshield wiper motor must be cycled to make sure that it is in the park position.If necessary, adjust the wiper arm and blade.
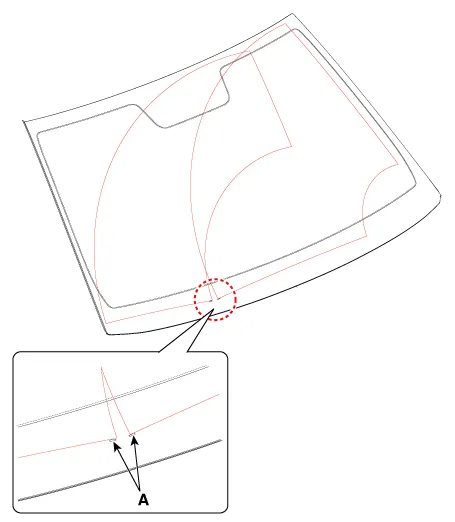
7.Install the wiper arm and blade to the specified position.A: Auto stop position (Blade)
1.Disconnect the connector (A) from the wiper motor.

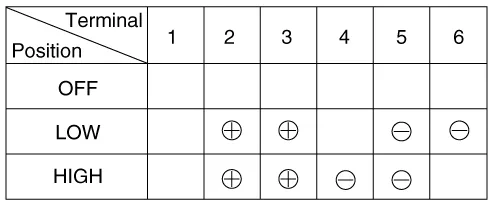
2.Check that the motor operates at low or high speed as below table.

Other information:
Hyundai Accent (HC) (2017 - 2022) Service Manual: Rear Drum Brake
- Components 1. Shoe hold down pin 2. Shoe adjuster 3. Upper return spring4. Adjusting lever5. Shoe6. Adjusting spring7. Lower return spring8. Shoe hold spring - Removal 1.Loosen the wheel nuts slightly. Raise the vehicle, and make sure it is securely supported. 2.Remove the rear wheel and tire (A).Tightening torque :107.9 - 127.5 N.Hyundai Accent (HC) (2017 - 2022) Service Manual: Cowl Cross Bar Assembly
- Component Location 1. Cowl cross bar assembly - Replacement • Put on gloves to prevent hand injuries. • When removing with a flat - tip screwdriver or remover, wrap protective tape around the tools to prevent damage to components. • Use a plastic panel removal tool to remove interior trim pieces without marring the surface.
Categories
- Manuals Home
- Hyundai Accent Owners Manual
- Hyundai Accent Service Manual
- Questions & Answers
- Video Guides
- Useful Resources
- New on site
- Most important about car
- Privacy Policy
0.0058


